Tuesday, February 22, 2011

Goats, Sprouts, Roots, and Shoots

“All the World's Problems Can Be Solved in a Garden” 
 -Geoff Lawton


I realized I have not said much about our goats lately, probably not since the trauma with Poppy and her leg back in December.  Well, the report is that in the end the break healed well, not so well at first, but with some time and attention she is pretty much her old self again, jumping, butting, and playing with the others.  Poppy responded amazingly to her constitutional homeopathic remedy that was the cataylst for her healing. 

goat and chicken feed combinations stored in 5 gallon food grade buckets

All of the herd is growing rapidly and seem to always be ravenous.  We are finally getting organized with our feed storage and regimen, sprouting their grain, a combinaion of oats, barley, and black sunflower seeds.  (You can see the goat page for our full routine.)

soaked and sprouting goat feed

Fencing has also been a big priortity around here.  So after much waiting, gathering of materials, and a few weekends of work, the approximate 1/2 acre of pasture for the goats to graze is almost completely fenced in. 


Rosemary and Poppy grazing


Poppy getting a hug

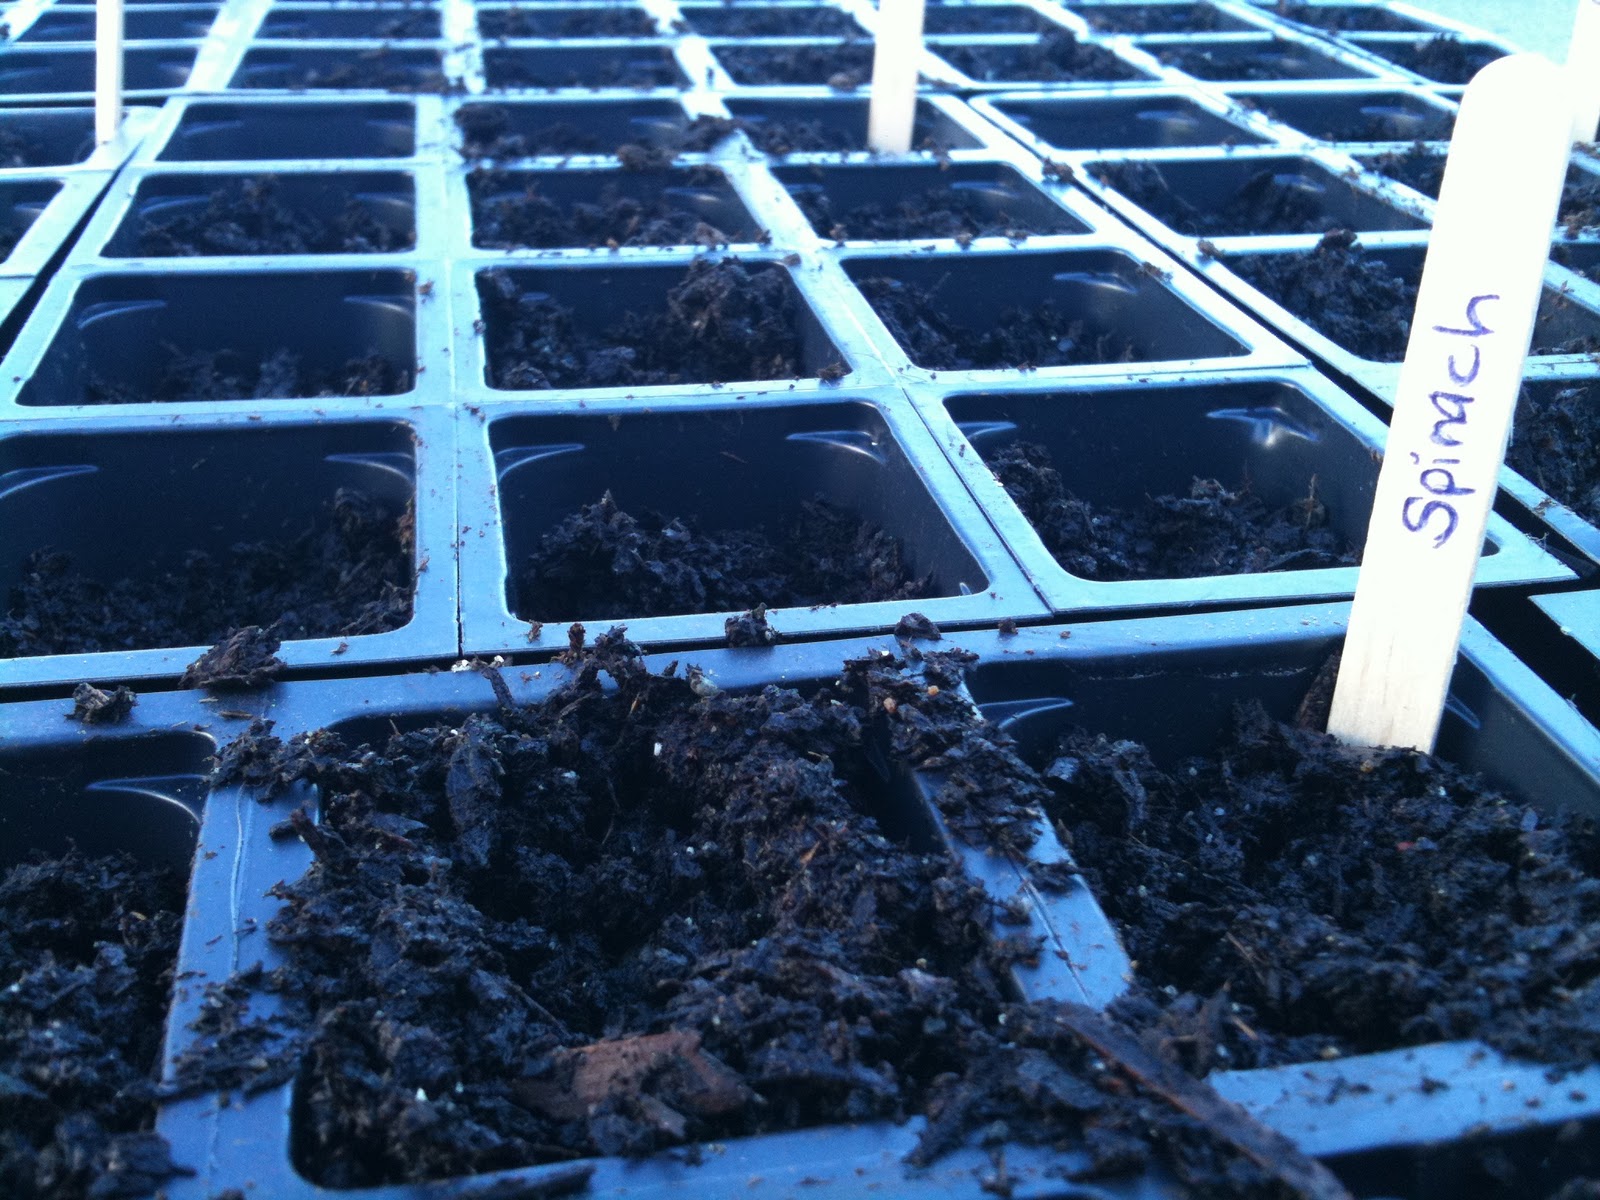
Lots of sprouting going on around here these days.  A natural born seed saver, we have a 7 yr old who is obsessed with sprouting everything he can get his hands on from any and all sproutable goods in the pantry to the seeds inside the dinner vegetables.  There is a constant collection of wet napkins full of seeds on the windowsill. 

poppy sprouts on the windowsill
Spring Cleansing
Thinking about spring cleansing, root tonics, and simple home remedies, this recipe for Fire Cider is as easy as it is full of benefit.  Some healing properties of the roots are...

Horseradish:  anti-bacterial, horseradish strongly stimulates the digestion, increasing gastric secretions and appetite.  Also a good diuretic that promotes perspiration, useful in fevers, colds, and flu.  An expectorant and can be of use in respiratory and urinary tract infections. 

Ginger:  valued for it's ability to warm the stomach, to ease vomiting and nausea, and fight off colds, chills, and coughs.  Useful for all types of congestion in the body. 

Garlic:  supports immune function and opens the pores of the skin to lower a fever.  Anti-bacterial and antimicrobial properties make it useful in treating bladder and kidney infections, yeast infections, strep throats, and ear infections. 

Cayenne:  useful for increasing circulation and to get mucous flowing.  Anti-inflammatory and anti-irritant.  Used as a digestive aid to to stimulate gastric juices.  Can be used to gain relief from migraines. 

Fire Cider
Ingredients
1 quart organic apple cider vinegar
1/2 cup horseradish root grated
1/8 cup garlic chopped
1/2 cup onion chopped
1/2 cup ginger grated
1 tsp cayanne


Directions:  Place all ingredients in a large, clean, glass jar and cover with apple cider vinegar.  Cover tightly and steep for 8 weeks, preferably on a sunny windowsill.  Strain into clean jar. 


Make this soon so it will be ready for spring colds and sniffles.  (Try diluted in H2O first, it is very spicy!)

Wednesday, February 16, 2011

Beautiful Bounty

fresh eggs looking like candy
Egg update:  The younger group of our chickens have been laying for a couple of months now.  I am amazed daily at the beautiful colors of the shells.  The Wellsummers' eggs which I expected to be a chocolate brown are more like a deep cinnamon color, I love it.  In about a week or so we plan to add some Maran chicks to our flock.  Our ladies really love the addition of the flax to their diet, as well as the handful here and there of the black sunflower seeds we bought for the goats.  Happy chickens indeed. 


We are definitely learning about the infinate ways to prepare an egg.  Frittata again for dinner tonight?

Mini Green House


So I sing to my seeds. 
What about it?
- Leslie Gaydos


seed starters waiting to go in the greenhouse

It's been nice to get a jump sart on the growing season.  We've started planting our seed starters to transplant in the spring.  Baby and giant spinich, rainbow chard, different varieties of kale, broccoli, collards, pumpkins, melons, zucchini, lettuce, fennel, borage, and more.  The potatoes and garlic are in the ground and the mini green house is pretty much complete, just needs a few finishing touches.  

tiny lettuce seeds

The mini green house is 5'x 20' and made to fit over a rectangular garden bed.  Small, light weight, and sturdy, each side of the top lifts and can be propped up by a pole.  A fairly simple design, we made this one completely from found and free materials, mostly used wooden pallets and plexiglass from craigslist. 


Here is the almost finished product which has held up to slamming winds and rain the last few days and it stays pretty warm in there. 
You can find the plans for this greenhouse in The Backyard Homestead Mini Farm Guidebook, by John Jeavons. 


Wednesday, February 9, 2011

Many Uses of Stinging Nettles


Technically it is still winter but spring is filling the air and that always means one thing to me...almost time to harvest stinging nettles.  It may still be a little early but this warm spell has got me itching to get out to the woods.  When I was in herb school this is one plant I got to know very well.  After drinking a quart of nettle tea every night for 2 weeks, I watched my skin and hair glow and my energy sore.  Nettles is definitely a healing plant so if you don't know about it, learn more and if you just forgot, now is the time to use your green allies for spring cleansing and rejuvination! 
I just recieved a wonderful recipe from a friend that has been passed down for generations from her grandfather in Germany.  I can not wait to try it out.  (Thanks Anna!)

Stinging Nettle Liquid Manure
Stinging nettle liquid manure has balancing and healing properties, stimulates growth and chlorophyl production. Worms love soil that is fertilized with this manure.

-Use the whole fresh plant cut in pieces. (possible to use dry plants as well) 
-Prepare a plastic, ceramic, or wooden pot or barrel (no metal pots).  Put in as many plants as you have.  Add enough water so that the plants are covered (best if you have rain water or use water that has been standing for a couple of days in the sun), cover with a piece of chicken wire to avoid small animals from falling in.  Don't fill the pot to the top because the liquid will foam during the fermentation process. Let the pot stand in the sun for about 2 weeks. Stir at least once a day. 

-A smell will develop and might offend your nose, so don't keep it too close to the house.

-The process has finished when the liquid has a dark color and doesn't foam anymore. Now you can cover the barrel with a lid. Dilute the liquid 1:10 or if you have used a small pot with a lot of nettle plants, 1:20 and water your garden with it.

-Other herbs to try: Symphytum/ Comfrey - lots of protein, the liquid manure is rich in nitrogen and potasium, good as tomato fertilizer (Symphatum can be combined with stinging nettle to make the manure)

-You can use all sorts of herbs combined: chamomile, mint, majoram...... try experimenting! You can also add some manure from chickens or cows (without the straw) or ripe compost.

-Use the liquid manure on your compost - that is the safest way. Otherwise make sure that you dilute it enough and don't spray over plant leaves but water the soil.

There are so many uses for this extraordinary plant. 
(Feral Kevin has an inspiring clip on juicing fresh nettles, www.feralkevin.com.)

You can try making nettle soup...


or nettle quiche...


If you are not familiar with this plant, get more ideas and learn how to harvest by clicking here, http://www.youtube.com/watch?v=D9ZdKdhKfcw

Happy foraging!

Friday, February 4, 2011

Sheet Mulching Part 2


 The beds we started preparing January 1st are now almost finished.  We finally got most of the manure in our driveway down the hill and spread out over sheet mulched beds.  It is pretty exciting.  Since there are so many eucalyptus trees here and we like to use what we have, the plan is to edge the beds with thick eucalyptus branches to give the garden a more finished look and to keep the beds from shifing too easily.  Also, still need to add a layer of compost over the top before planting.  It was hard to get a picture of the full design but from overhead the garden beds are two concentric circles with pathways cutting through.


Thursday, February 3, 2011

Pumpkin Bread

For each new morning with its light,
For rest and shelter of the night,
For health and food, for love and friends,
For everything Thy goodness sends.
~Ralph Waldo Emerson


I was recently reminded by an aquaintance that it is a very good thing to feed my chickens flax seeds (for the Omega 3's of course!).  I had forgotten all about that, so after an expedition to the store to purchase some flax I felt like doing some baking.  Here is what came of the urge, a new recipe I had not previously tried but have to say it is, hands down, the best quick bread I have had, maybe ever.  I imagine you can use any squash for this but I stuck to pumpkin for the flavor and because it is what I had in the pantry. (My suggestion is to double the recipe.)

Pumpkin Bread, adapted from William Sonoma Thanksgiving Entertaining

1 1/4 c flour
1/3 c cornmeal
1 tsp baking soda
1/2 tsp salt
1 1/2 tsp ground cinnamin
1 tsp ground ginger
1/4 tsp ground cloves
2 large eggs
1-1 1/4c sugar
1/3 c olive oil or buter melted
1/3 c plain whole milk yogurt
1 c pumpkin puree
1 c raisons (optional)
flax seeds and butter to line botom of pan

Preheat oven to 350.  Butter pan.
In a large bowl whisk together flour, cornmeal, baking soda, salt, cinnamin, ginger, and cloves. 
In a seperate bowl combine eggs, sugar, oil or butter, yogurt, and pumpkin.  Beat until smooth, about 1 minute.  Stir in raisons.  Stir in dry ingredients being careful not to over mix.
Melt some butter and pour onto bottom of the pan then sprinkle with flax seeds.  The flax seeds make a yummy crust on the bottom.  Pour in batter and bake until knife or toothpick inserted into the center comes out clean.  Cool and Enjoy!


Wednesday, February 2, 2011

Scions

Trees go wandering forth in all directions with every wind,
 going and coming like ourselves,
 traveling with us around the sun two million miles a day,
 and through space heaven knows how fast and far! 
-John Muir


Scion -n

1. a descendant.
2. Also, cion. a shoot or twig, especially one cut for grafting or planting; a cutting.


A couple of Sundays ago we attended a scion exchange in our neighborhood where gardeners and farmers traded cuttings from their fruit trees and vines.  There were workshops as well, including one on grafting taught by our local fruit tree expert who has an amazing property hosting over 100 rare fruit trees.  We walked away with some new knowlege and about 40 different varieties to graft in the orchard.
Here is our documented attempt at grafting our pear tree using a whipgraft...

(Collect scions when deciduous plants are dormant.  When the leaves are mostly gone and the buds are small, not swelling.  In the SF Bay Area--ealy winter.  Bag labeled scions in airtight plastic with drops of water and refigerate.  Deciduous scions will last for 2-10 months.) 


Select a branch on the tree where there are small buds so you know there is sap running to that particular branch.  


Using a knife or heavy cutter, cut the branch  in a locaion that is slightly smaller than the scion in diameter.  Then make a clean cut on the scion keeping 2-4 buds.


Carefully shave the scion and the branch into a wedge shape to make a tight fit. 


If they do not fit together perfectly you may need to reshape. 


We used this nifty product that comes in a convenient paper package called Parafilm.  When you open it and apply pressure it stretches out and becomes slightly elastic creating an excellent adhesive.  


Wrap tightly around the joining point of the branch and the scion so that the bond is completely covered.  You want the sap to run into the scion not onto the tree branch.  


Label and record the location of the graft and voila!  Now we await rapidly approaching spring.  We will check the graft in 3-4 weeks for bud swell.